
How to Properly Seal Your Garage Floor
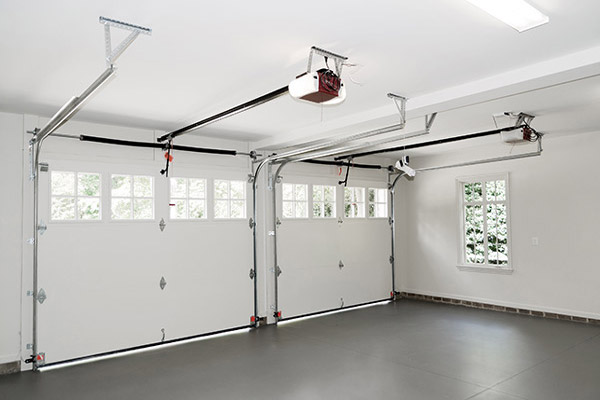
Your garage floor sees a lot of abuse. Cars, lawnmowers, bikes, and heavy seasonal equipment along with dirt and grime all season long—it’s no wonder why its surface has cracks and a dull, uneven appearance. Garages aren’t meant to be the most beautiful space of a home, but they don’t have to be dingy and uncomfortable, either.
Sealing your garage floor immediately transforms an unpleasant space into a proper workshop ready to withstand anything thrown its way. However, before you jump into sealing your garage floor, you should learn about the step-by-step process on how to properly seal your garage floor.
Floor Sealers
Knowing which floor sealer to use is key. For concrete garage floors, which is the most common material used in garage flooring, you can opt for acrylic, epoxy, or polyurethane products. These sealers trap the concrete pores and give the surface a glossy look. They’re durable and easy to clean.
You can also use silane or siloxane formulas, which penetrate the concrete and bond to repel water and chemicals. However, these formulas don’t give the floor a glossy look but rather an invisible protective coating over your concrete. It’s up to your personal preference as to which coating to choose.
Surface Preparation
The biggest mistake you can make in sealing a garage floor is skipping over or not thoroughly prepping the floor first. Removing all dirt and debris is essential in ending up with a good coat of sealant that looks professional and holds up well over time.
Here is how to prep your garage floor before sealing:
- First, use a large broom to sweep the floor clean of debris and dirt
- Remove any oil stains beforehand
- Treat the floor with a concrete cleaner
- Use a power washer to clean the floor
- Wait for the garage floor to dry completely before applying your sealer
Choose the Right Conditions
Read the instructions for your selected sealer carefully before you apply it. Some sealers will require application in certain temperatures, and most won’t do well in temperatures 50 degrees and below.
You’ll also need to remove everything in your garage for the duration of the application, which could last a full weekend depending on the conditions. Make sure you plan for these many variables before you begin.
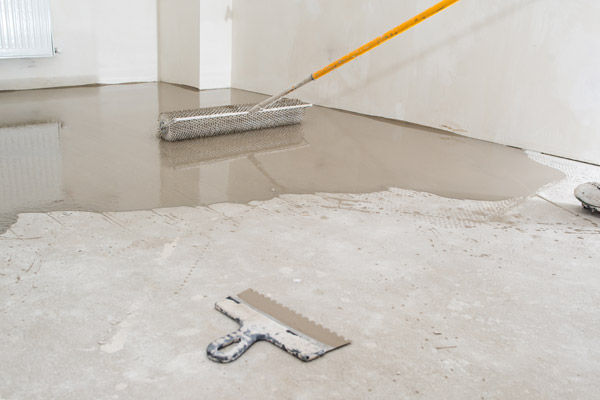
Apply the Sealer
You can use a paint tray to contain the sealer and a lint-free paint roller or sprayer to apply the coat. Begin working in the furthest corner, moving in one direction to avoid boxing yourself in while applying. Spread the sealant evenly across the floor to avoid creating puddles. Remember to always work with plenty of circulation to avoid breathing in the fumes.
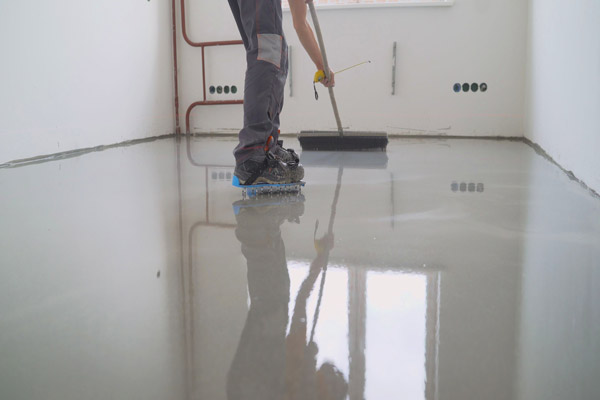
Let the initial layer of floor sealant dry completely. Follow the manufacturer’s instructions for proper drying time. Most floors will require a second coat of sealer, so begin the process of applying a second coat again once the first is dried.
If you’d like, you can apply floor wax on the finished layer of sealer for extra shine.
Tools you’ll need:
- Sealer of your choice
- Paint roller (lint-free) or paint sprayer
- Paintbrush (optional) for harder-to-reach areas that require a sealer
- Pressure washer or hose
- Large broom
- Protective gear: gloves, safety goggles, and face mask
Fill in the Cracks
Chances are, your garage floor will still have a few cracks that will need to be addressed, especially if it’s an older concrete floor that has suffered from abuse over time. The initial layer of sealer may not be enough to seep into these cracks. Adding a bead of caulking will contribute to the floor’s protection and final professional look.
To complete your sealing project, you’ll want to fill in these cracks in the concrete with caulking that’s specially designed for concrete material. Urethane caulking will do the trick or check the labels on the different caulking types which should list the materials their application is appropriate for.
When the first layer of sealant is completely dry, cut a small bit off the caulking tube’s tip, then hold the caulking gun perpendicular to the floor. Press the tip into the concrete crack and fill the crack completely by squeezing the trigger. You’ll notice a difference almost immediately and the cracks will become much less conspicuous.
When in Doubt, Hire a Professional
Sealing a garage floor takes time and effort. If you don’t feel comfortable sealing the garage floor yourself, you can always hire a professional.
That’s why Danley’s Garages is #1 in Chicagoland for detached garage construction. Speak to a specialist and get a free quote today.


